Create a server script
Server scripts in SnapNet are akin to AGameModeBase when using Unreal’s built-in networking. They are created inside of the server UWorld and tick when the server simulation runs.
Server scripts are responsible for executing game mode logic and reacting to players joining and leaving.
Create the server script subclass
This simple server script spawns an entity for a player when they connect, and destroys the entity when they disconnect.
#pragma once

#include "SnapNetServerScript.h"

#include "SimpleServerScript.generated.h"

class AActor;

UCLASS( abstract )
class USimpleServerScript : public USnapNetServerScript
{
    GENERATED_BODY()

protected:
    bool ChooseSpawnPoint( AActor* Entity, FVector& OutSpawnLocation, FRotator& OutSpawnRotation );

    virtual void OnPlayerJoined( int32 PlayerIndex ) override;

    virtual void OnPlayerRemoved( int32 PlayerIndex ) override;

    // Array of spawned entities, by player index
    UPROPERTY()
    TArray<AActor*> PlayerEntities;

    // The entity class to spawn for each player that joins
    UPROPERTY( Category = "Simple Server Script", EditDefaultsOnly, BlueprintReadOnly )
	TSubclassOf<AActor> PlayerEntityClass;
};
#include "SimpleServerScript.h"

#include "EngineUtils.h"
#include "GameFramework/PlayerStart.h"
#include "SnapNetEntityComponent.h"
#include "SnapNetSimulation.h"

DEFINE_LOG_CATEGORY_STATIC( LogSimpleServerScript, Log, All );

bool USimpleServerScript::ChooseSpawnPoint( AActor* Entity, FVector& OutSpawnLocation, FRotator& OutSpawnRotation )
{
    TArray<FTransform> OccupiedSpawnPoints;
    TArray<FTransform> UnoccupiedSpawnPoints;
    UWorld* World = GetWorld();
    for ( APlayerStart* PlayerStart : TActorRange<APlayerStart>( GetWorld() ) )
    {
        FVector SpawnLocation = PlayerStart->GetActorLocation();
        const FRotator SpawnRotation = PlayerStart->GetActorRotation();
        if ( !World->EncroachingBlockingGeometry( Entity, SpawnLocation, SpawnRotation ) )
        {
            UnoccupiedSpawnPoints.Add( FTransform( SpawnRotation, SpawnLocation ) );
        }
        else if ( World->FindTeleportSpot( Entity, SpawnLocation, SpawnRotation ) )
        {
            OccupiedSpawnPoints.Add( FTransform( SpawnRotation, SpawnLocation ) );
        }
    }

    if ( UnoccupiedSpawnPoints.Num() > 0 )
    {
        const FTransform& SpawnTransform = UnoccupiedSpawnPoints[FMath::RandRange( 0, UnoccupiedSpawnPoints.Num() - 1 )];
        OutSpawnLocation = SpawnTransform.GetLocation();
        OutSpawnRotation = SpawnTransform.Rotator();
        return true;
    }
    else if ( OccupiedSpawnPoints.Num() > 0 )
    {
        const FTransform& SpawnTransform = OccupiedSpawnPoints[FMath::RandRange( 0, OccupiedSpawnPoints.Num() - 1 )];
        OutSpawnLocation = SpawnTransform.GetLocation();
        OutSpawnRotation = SpawnTransform.Rotator();
        return true;
    }

    return false;
}

void USimpleServerScript::OnPlayerJoined( int32 PlayerIndex )
{
    if ( PlayerEntities.Num() < PlayerIndex + 1 )
    {
        PlayerEntities.SetNumZeroed( PlayerIndex + 1 );
    }

    USnapNetSimulation* Simulation = GetSimulation();
    AActor* PlayerEntity = Simulation->SpawnEntity( PlayerEntityClass, PlayerIndex );

    if ( PlayerEntity != nullptr )
    {
        FVector SpawnLocation;
        FRotator SpawnRotation;
        if ( ChooseSpawnPoint( PlayerEntity, SpawnLocation, SpawnRotation ) )
        {
            PlayerEntity->SetActorLocationAndRotation( SpawnLocation, SpawnRotation );
            PlayerEntity->FindComponentByClass<USnapNetEntityComponent>()->MarkTeleported();
            PlayerEntities[PlayerIndex] = PlayerEntity;
        }
        else
        {
            UE_LOG( LogSimpleServerScript, Error, TEXT( "Failed to find spawn point" ) );
            PlayerEntity->Destroy();
        }
    }
    else
    {
        UE_LOG( LogSimpleServerScript, Error, TEXT( "Failed to spawn player entity" ) );
    }

    Super::OnPlayerJoined( PlayerIndex );
}

void USimpleServerScript::OnPlayerRemoved( int32 PlayerIndex )
{
    Super::OnPlayerRemoved( PlayerIndex );

    if ( PlayerEntities.IsValidIndex( PlayerIndex ) && PlayerEntities[PlayerIndex] != nullptr )
    {
        PlayerEntities[PlayerIndex]->Destroy();
        PlayerEntities[PlayerIndex] = nullptr;
    }
}
With these new files added, regenerate the project files and compile.
Create the server script blueprint
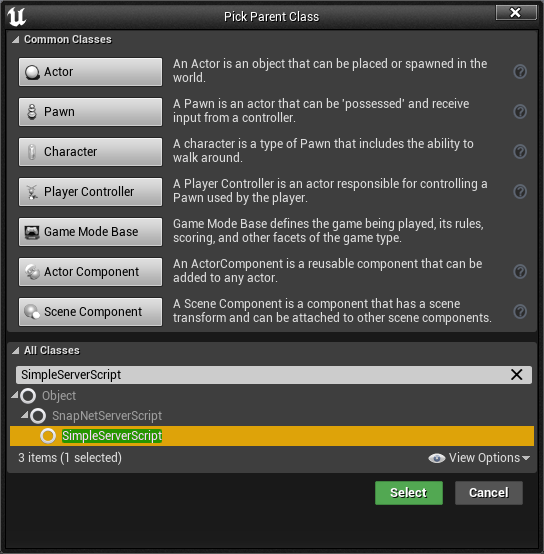
The next step is to create a blueprint for the server script so that we can assign the player entity class to use. Open the editor and use the Content Browser to create a new folder named Blueprints. With this folder open, click Add/Import → Blueprint Class and select SimpleServerScript as the parent class for the new blueprint.
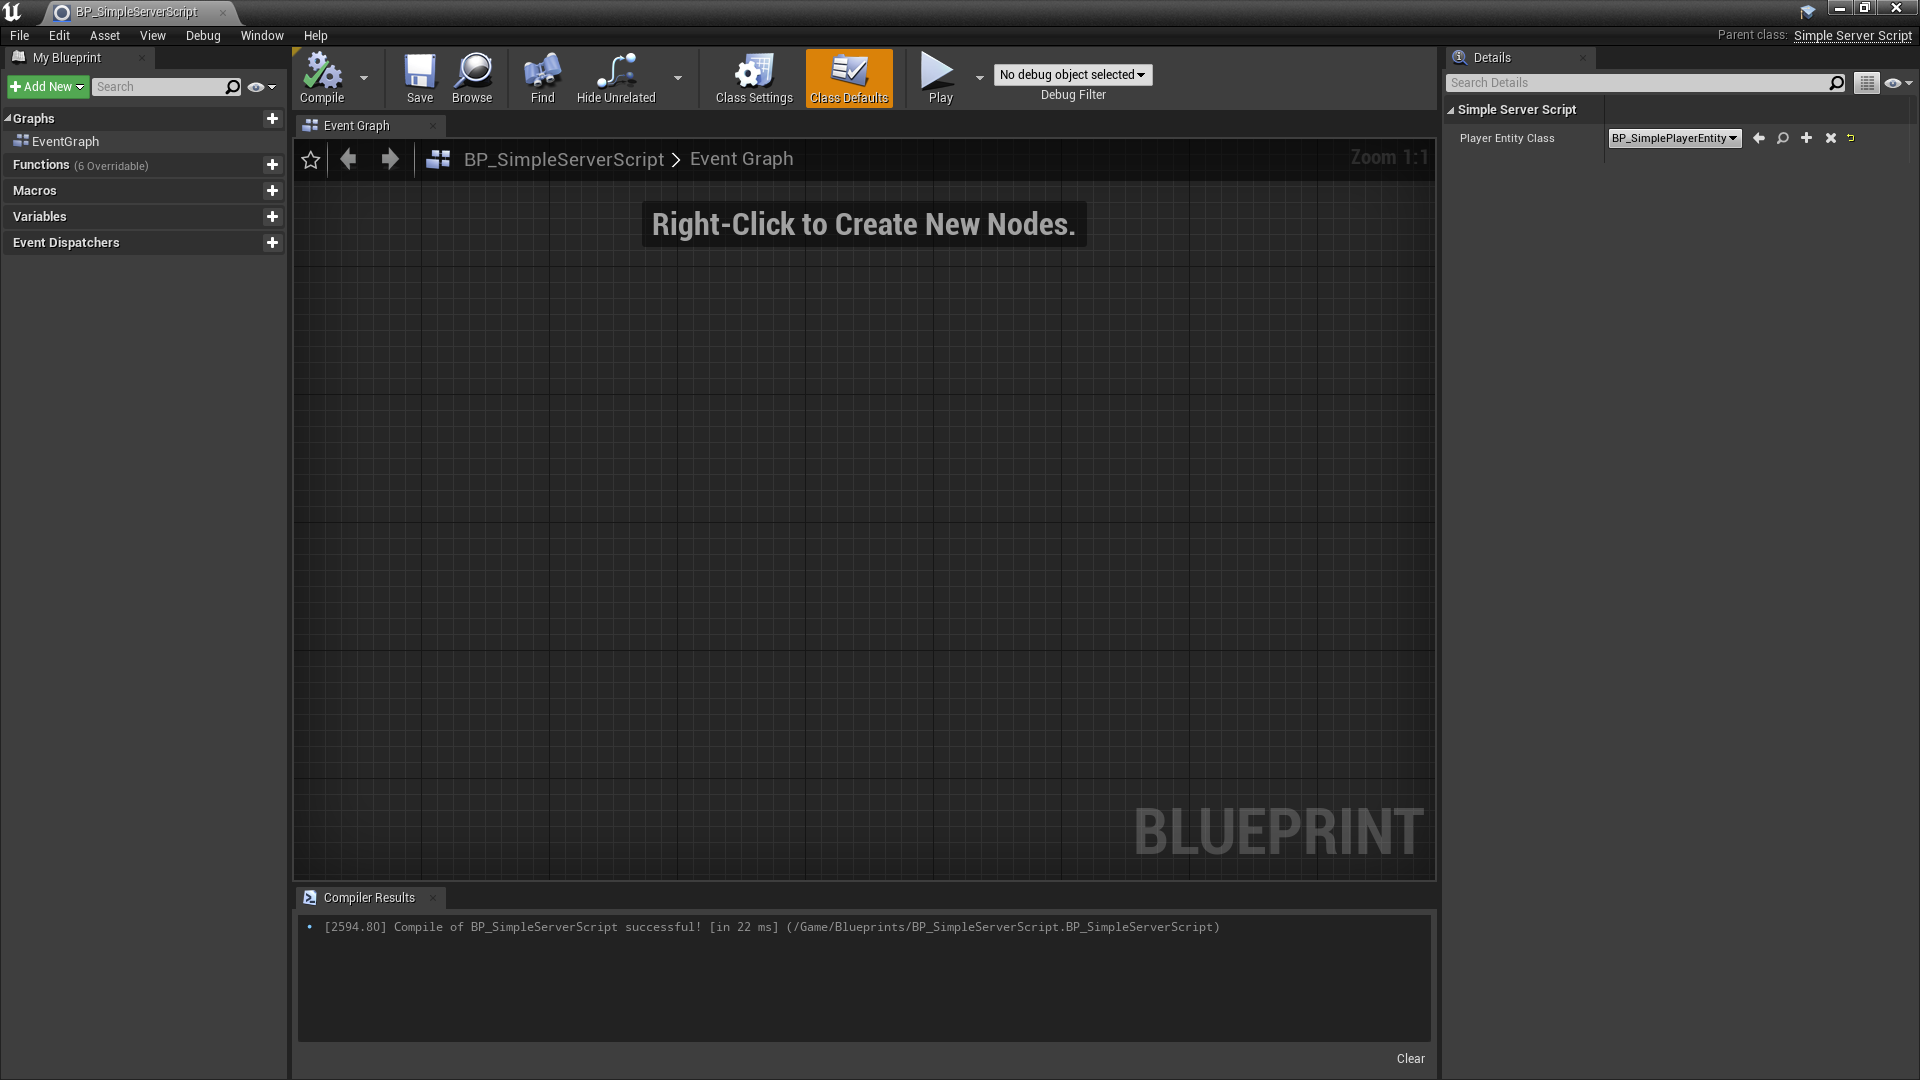
Name it BP_SimpleServerScript. Now double-click on this new blueprint to open it up and click Class Defaults on the toolbar. In the Details panel, select the BP_SimplePlayerEntity blueprint you created earlier. Compile and save the blueprint.
Configure the map
In order to test this new server script, it must be passed to SnapNet when starting the server. The easiest way to do this is by placing a SnapNet Play Info actor in the map and configuring it. Specifying a server script on a map’s SnapNet Play Info actor is similar to overriding the map’s game mode class in Unreal’s gameplay framework.
From the Place Actors panel, navigate to the SnapNet category, and then drag a SnapNet Play Info actor into the viewport to place it in the map. Then, with the newly-placed SnapNet Play Info actor selected, go to the Details panel and assign its Server Script Class to BP_SimpleServerScript using the dropdown.
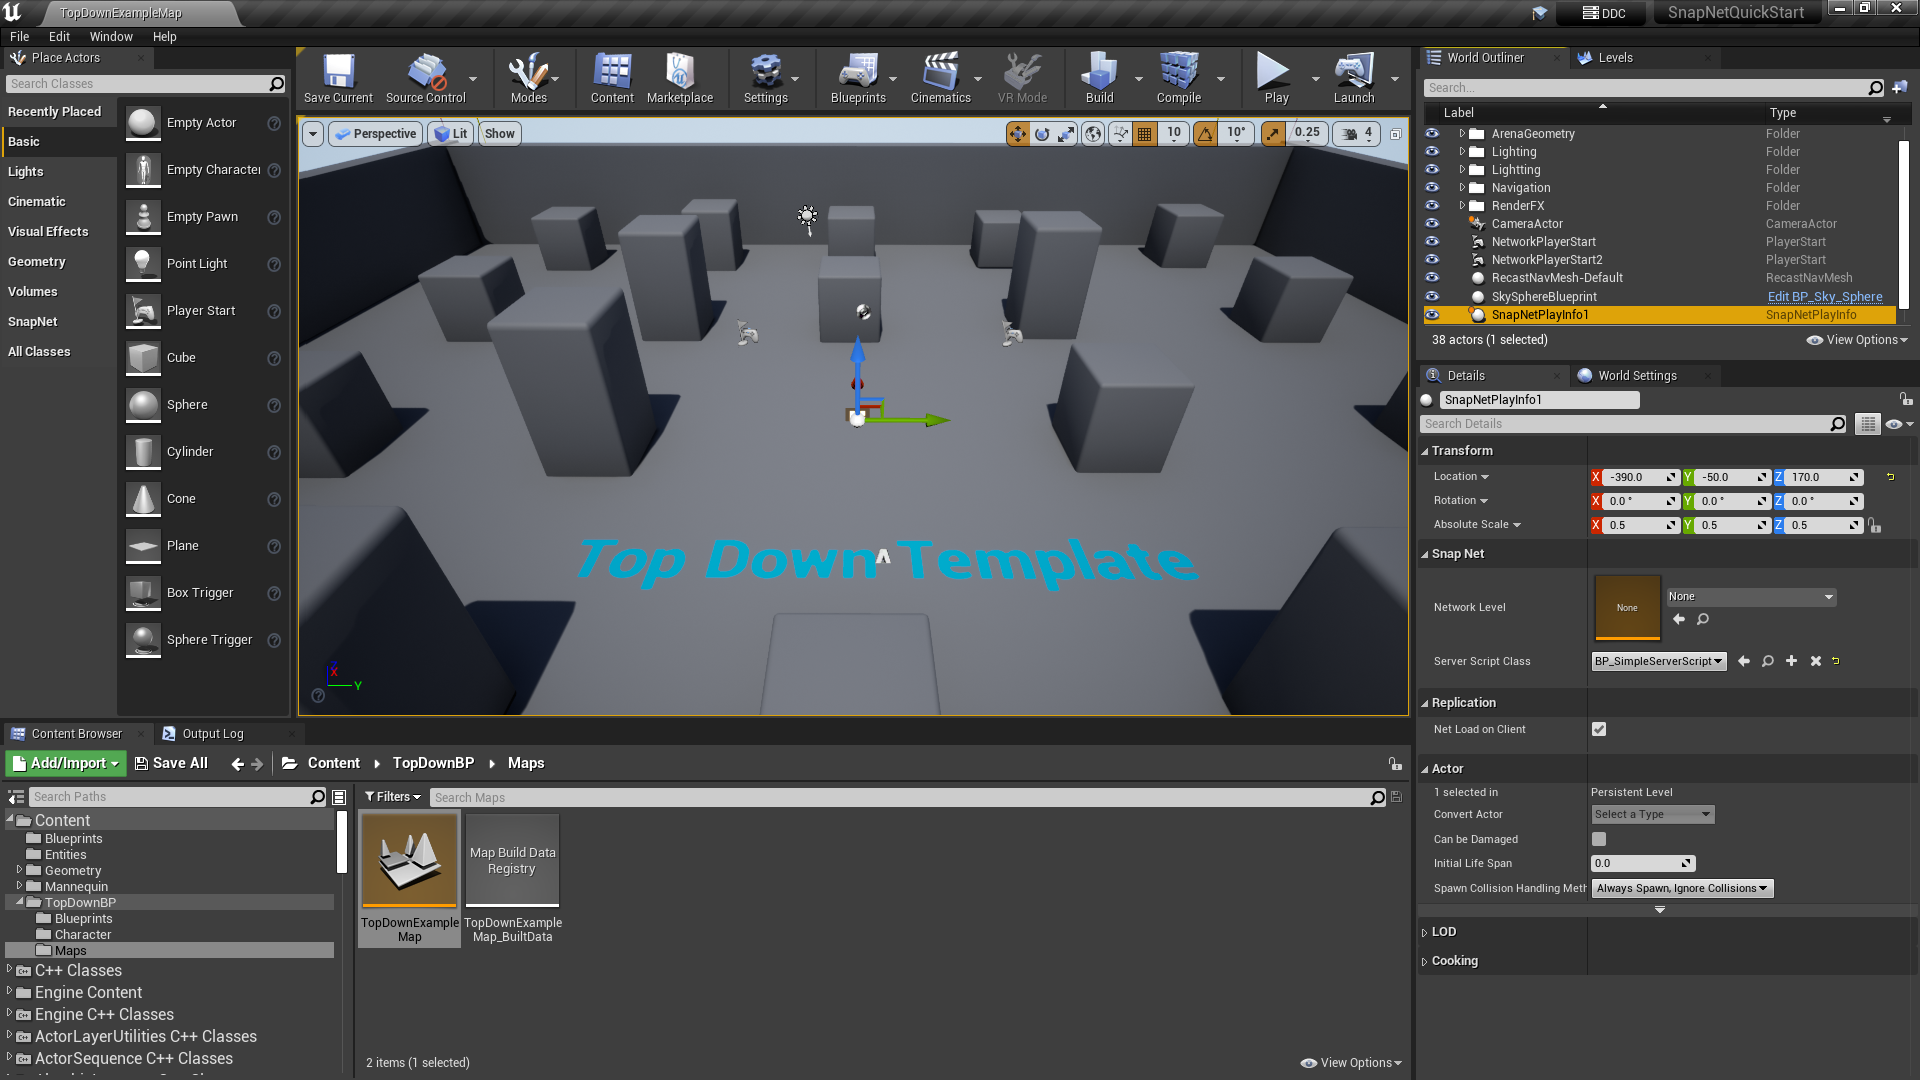
Click Save Current in the toolbar to save the map.
Test the results with a single player
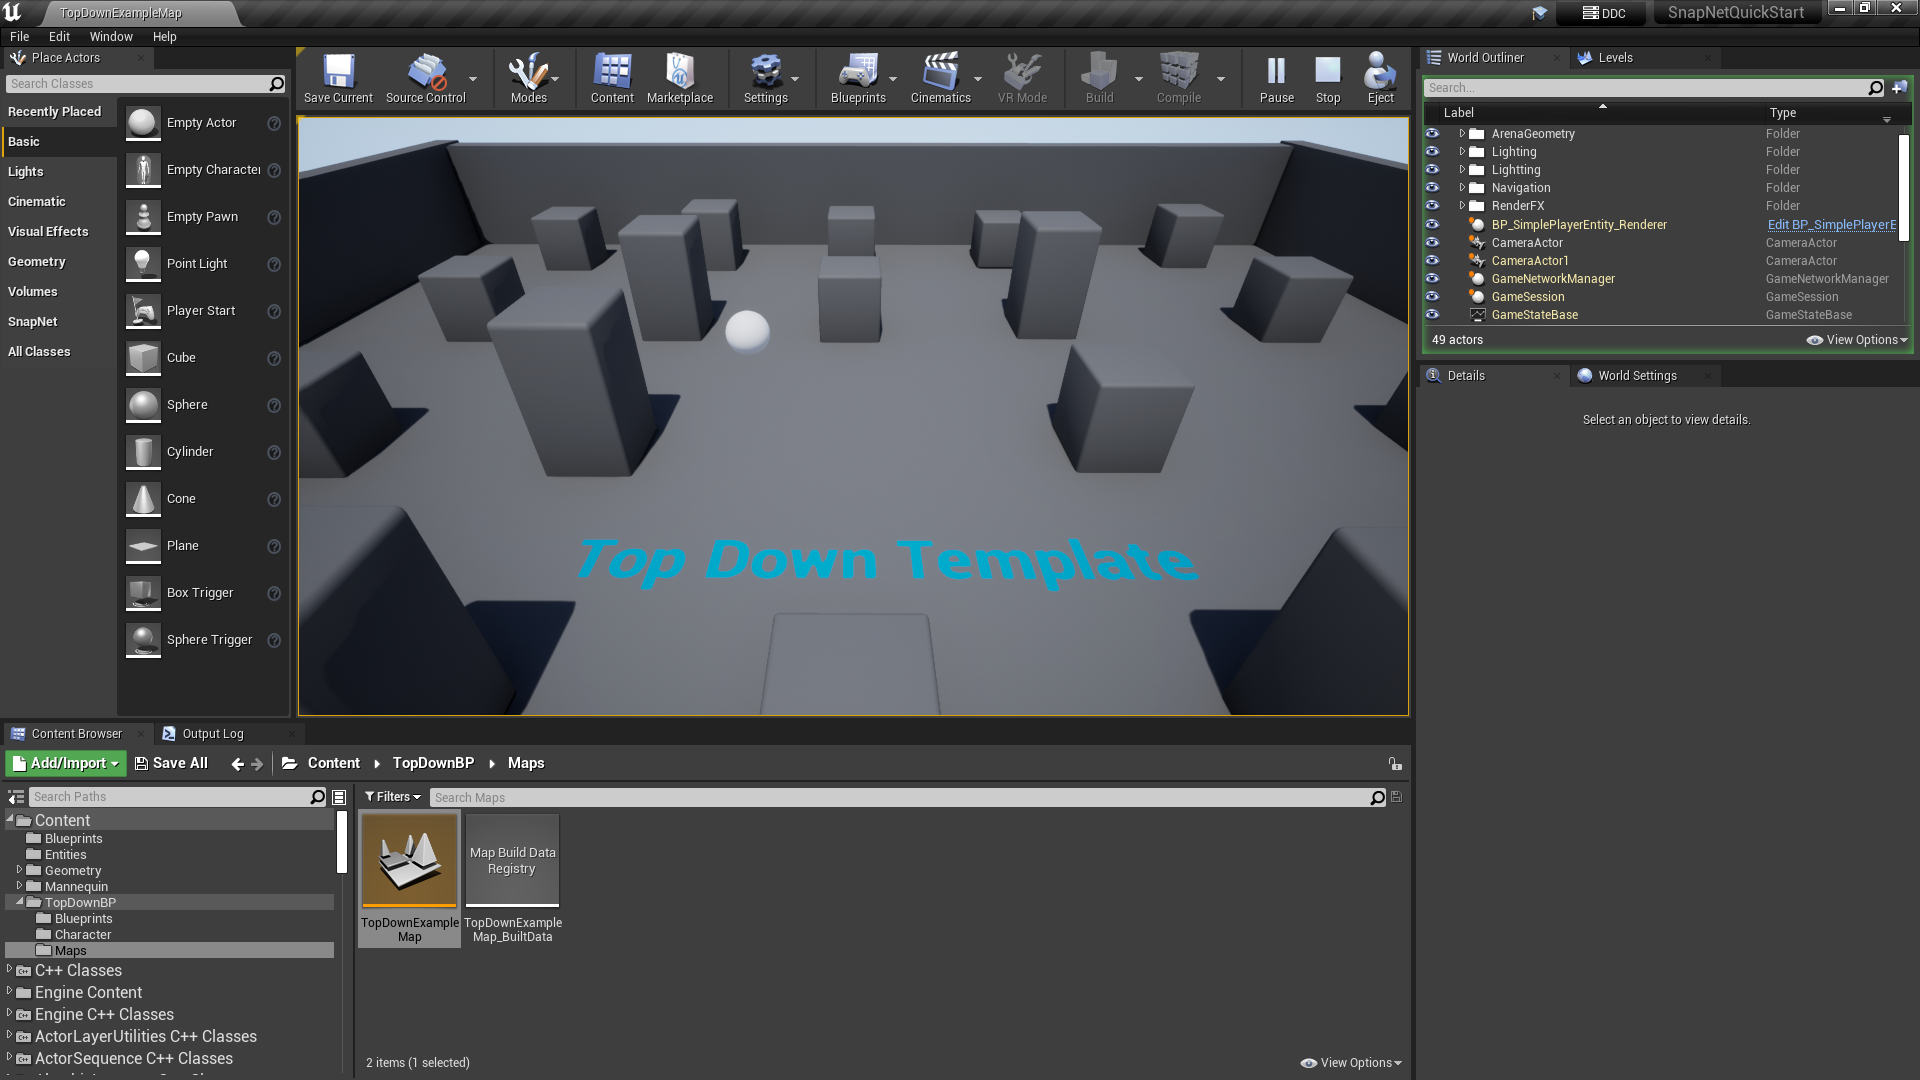
Press Play in the toolbar. You should now see a sphere spawned at one of the player starts. If your mouse cursor is still visible, click inside the viewport to give it focus. You should then be able to use the W/A/S/D keys to move the sphere around.
When you’re finished, press ESC to terminate the session.
Test the results with two players
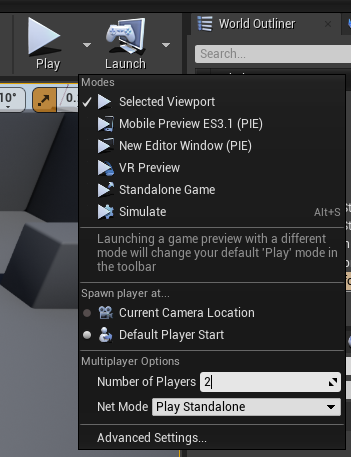
Now let’s try it with two players. Click the caret to the right of the Play button to bring up the play-in-editor settings. Change Number of Players to 2.
Press Play in the toolbar. This will start two clients, one in the viewport and one in a new window. You should see two spheres in the scene each controllable by one of the two clients.

And that’s it! You now have fully-functional networked gameplay with client-side prediction powered by SnapNet.
Next steps
From here, check out the Guides section to learn how to accomplish different tasks with SnapNet, using the result of this quick start as your starting point.